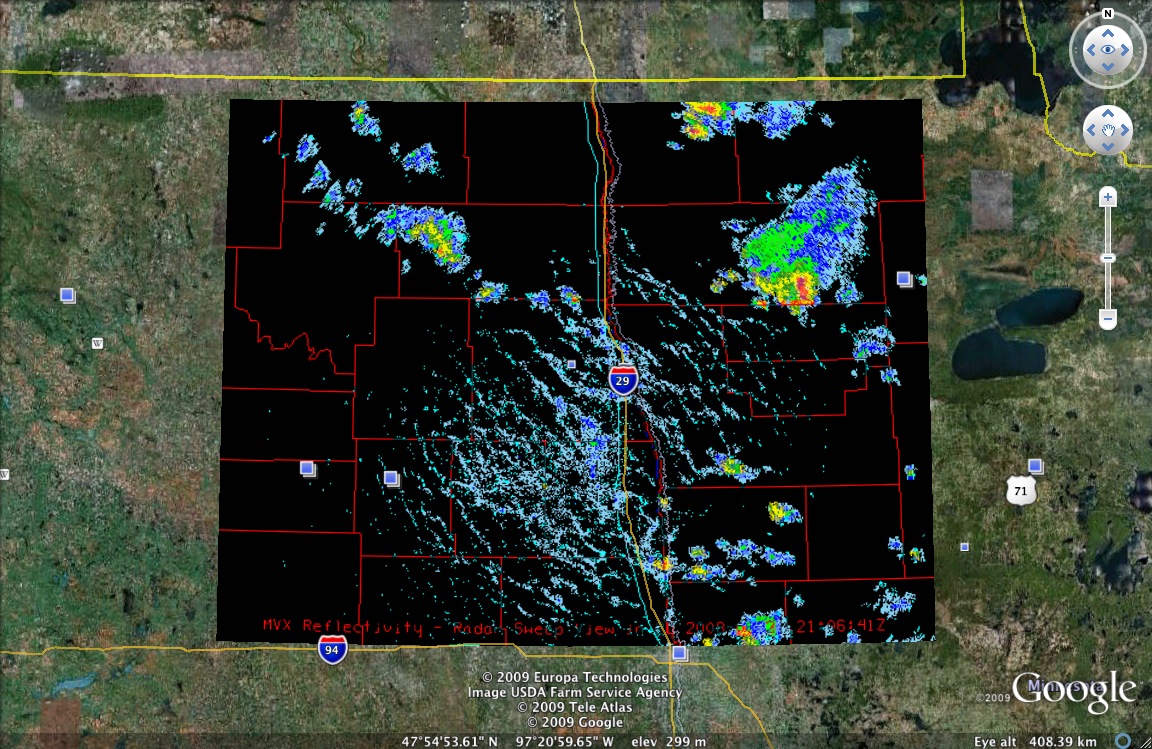
How to Place Level II Radar Images into Google Earth
The following steps will layout the proper procedure on how to place level II radar images from NCDC into Google Earth from using the Integrated Data Viewer (IDV).
1. If you do not have IDV and/or Google Earth go to their respective websites and install the software. IDV can be found at http://www.unidata.ucar.edu/downloads/index.jsp and Google Earth at earth.google.com.
2. Next, one must go to http://hurricane.ncdc.noaa.gov/pls/plhas/has.dsselect and select NEXRAD level II.
3. Select the radar name you wish to receive data from. Enter a date range. Then type in your email address and hit continue.
4. Either select all the files, or select certain hours you wish to download. These files tend to be rather large so be sure to keep this in mind for disk space.
5. Once the data had downloaded (which could take anywhere from a few minutes to several hours depending on the size of your files and the number of requests at NCDC) you'll receive an email providing you with a link to retrieve these data from.
6. After clicking the link, you will see tar files for each of the hours you selected. Click on them, and save them to a location that is easily located.
7. Now un-tar the files. To do this, open your linux shell and type “tar - xvf filename.tar” where filename is replaced by the name of the tar file.
8. You'll now notice a list of .gz files, to put these into usable form simply type “gunzip *.gz” into the shell.
9. Open IDV.
10. Now select data choosers on the top tab.
11. Select radar in the left hand side of the GUI. Then select NEXRAD-Local, the radar's location, the location of the radar files, and lastly the files you wish to load.
13. Then select which fields you would like to view.
14. Notice you now see your radar images, if the location is wrong, go back and double check that the radar location is correct.
15. To save a file, select view (in the top left corner), capture, image. Then to save, select google earth format at the bottom, then type in your filename.kml while Google Earth accepts .kmz format, .kml seems to work better.
16. Lastly, open Google Earth, file, open, and select your .kml file. Notice you will now see your radar image overlaid onto the map.
Below you will see an example of what radar in Google Earth may look like.
